
Wally Wonder Wing V2 Construction
#3 JOIN WINGS and INSTALL TE CAPS
Put a piece of wax paper down on your building board.
A strip of masking tape along the wings root bottom helps keep the glue where you want it.

Generously coat the joint with 5 minute epoxy, align the halves and press
down and together and hold till set.
After a few minutes when cured, remove from the wax paper and check out
the bottom.
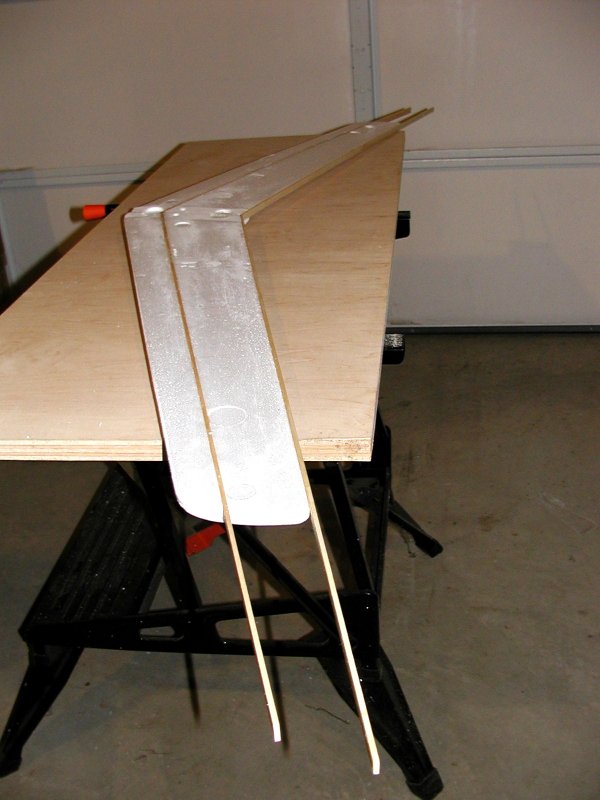
The front spars can be epoxied in now.
Test fit them again and lightly coat all three sides of one spar and position
in place.
Flip the wing over onto your wax paper and press down evenly along the
entire wing to seat it fully.
Quickly turn back over and with some alcohol on a rag, wipe the spar off
of any excess epoxy that ran out.
Flip back over on the paper again and apply and hold even pressure during
final setting and/or weight down for full cure.
Do the same for the other front spar, being sure to apply glue on the end
and seat the root junction well where the spars meet.
Leave the excess spar length hang off the tips for now.
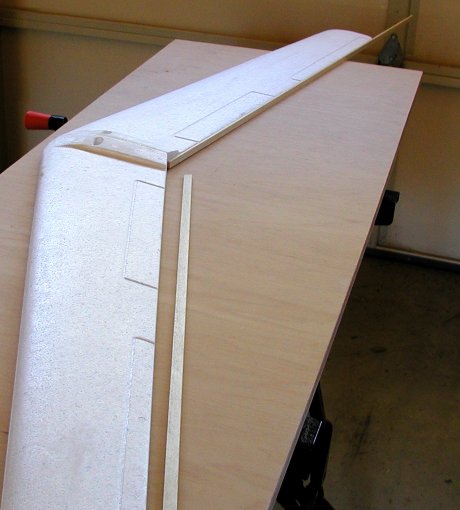
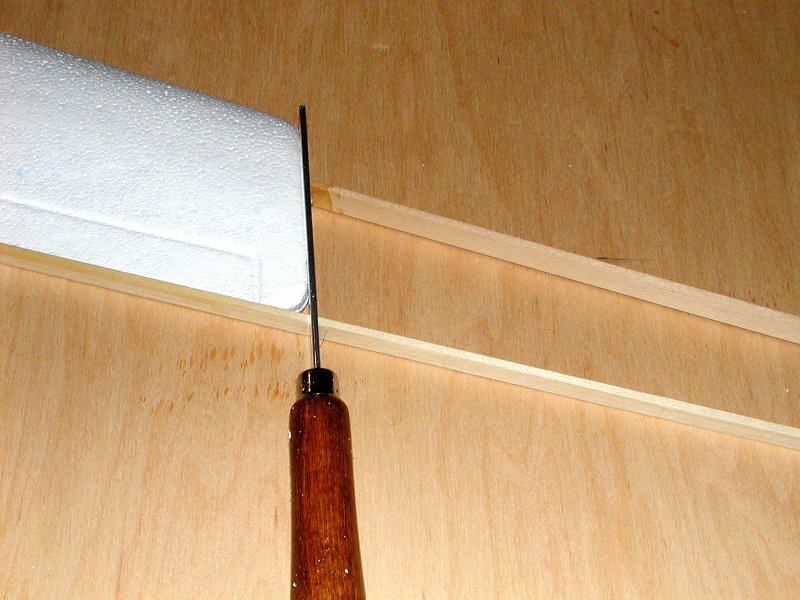
TE CAPS
2) 1/8" x 3/8" x about 28" spruce
If making a slow flyer with a light weight power system, you can probably just hinge thin balsa sheet elevons direct to the foam TE.
For S400 and above use, the TE caps add needed structural strength.
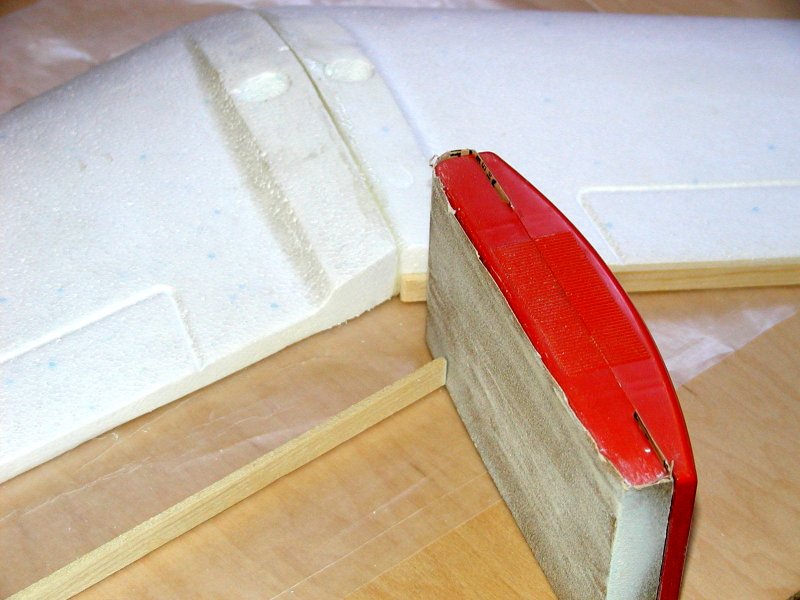
Match the root angles by sanding the ends.

Test fit first then epoxy in place gap free and square to building surface.
Trim foam at root TE down to match cap thickness if desired for looks.
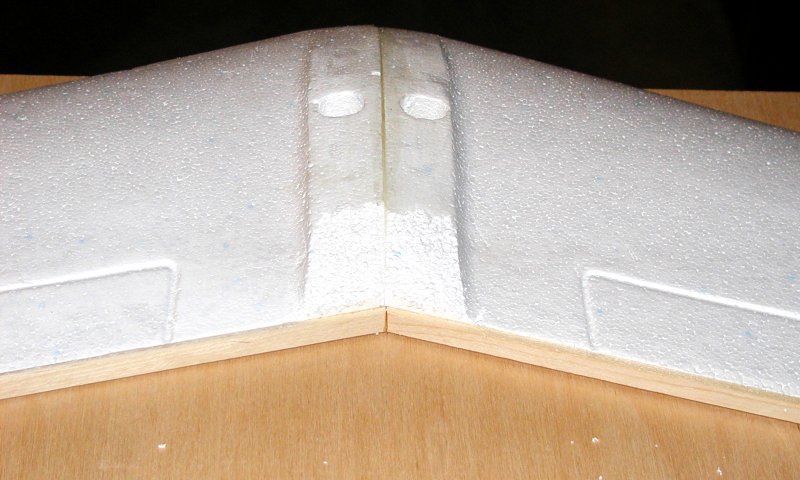
Then fine block sand until smooth.
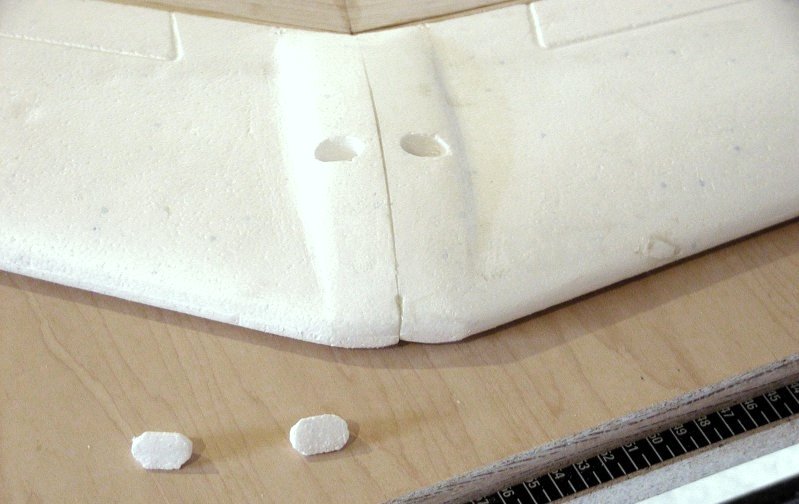
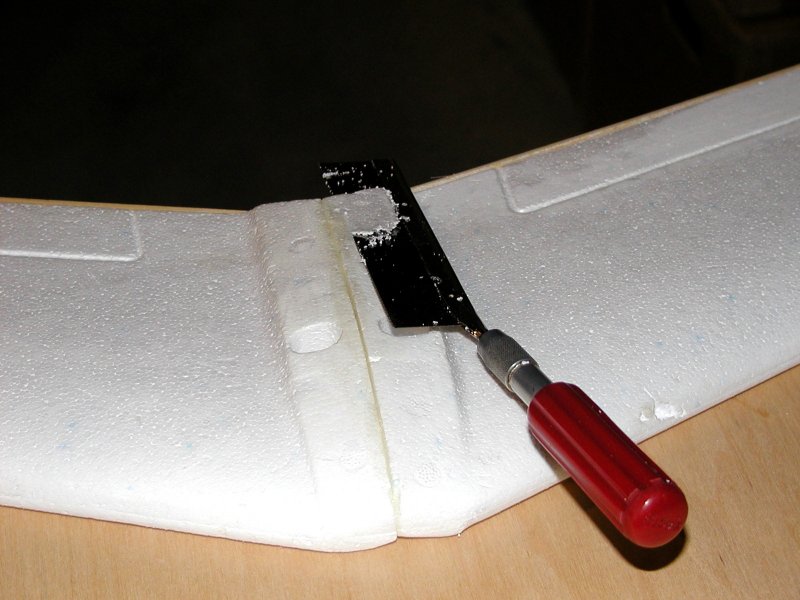
You can cut some plugs from scrap for those stupid holes if you want also
and epoxy in place.
(Note I did some of the above steps in a different order than displayed here,
but do them whichever way works best for you.)
Trim the excess spars flush to foam tip surface and sand smooth.
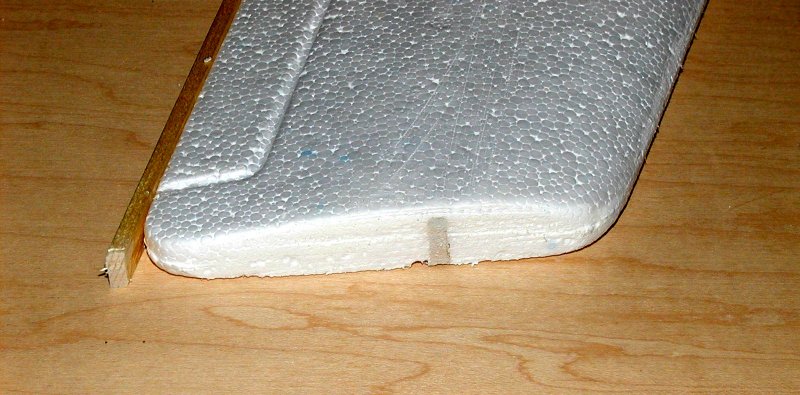
Fill the gap at the TE corner with scrap foam.
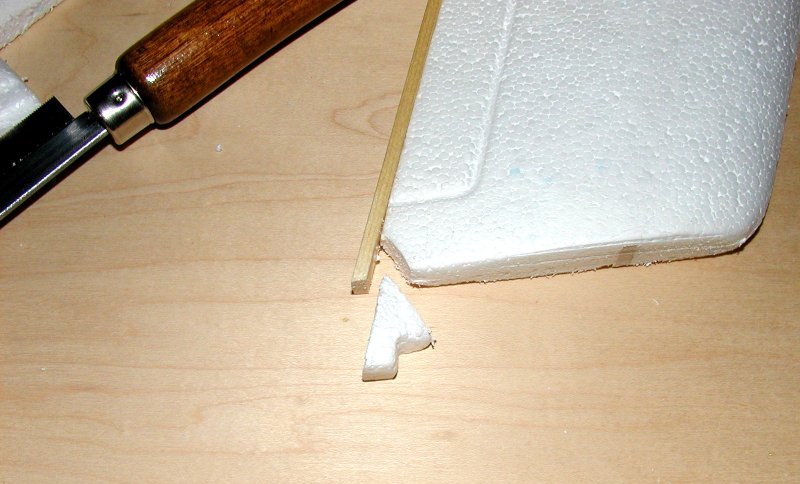
Easiest is to cut corner straight first then match plug.
BACK TO INDEX
NEXT PAGE