 |
 |
|
|
|
 |
 |
|
|
|
| 09/99
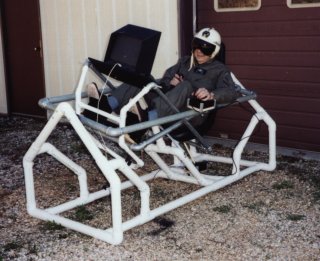
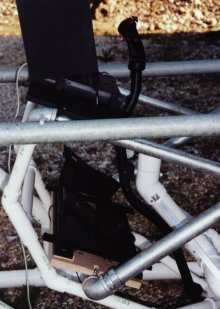
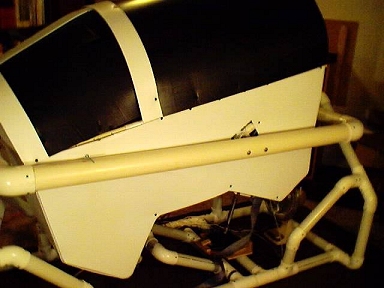
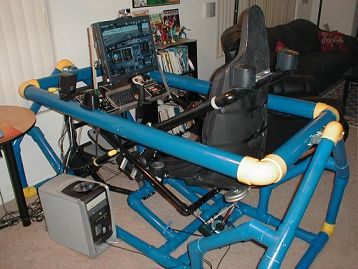
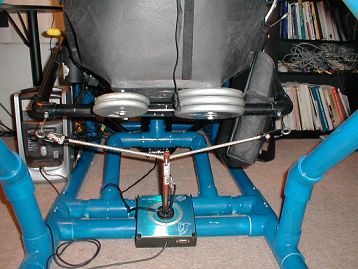
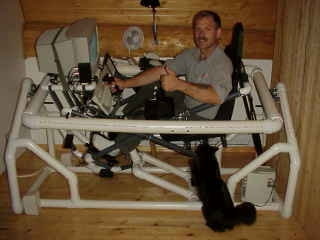
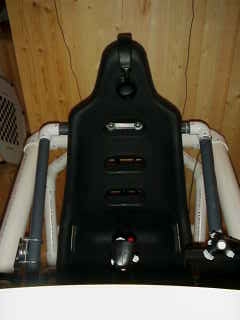
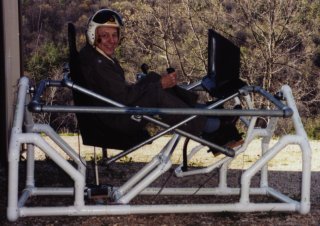
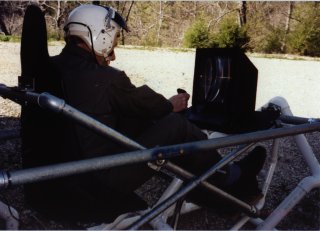
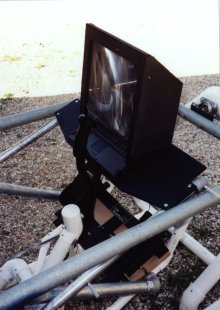
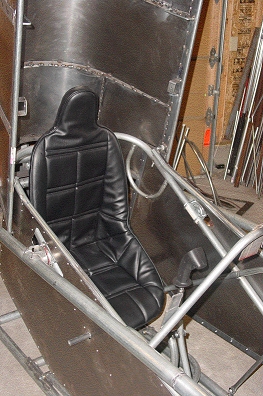
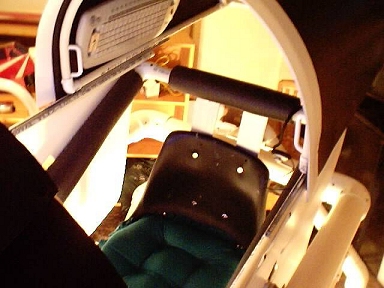
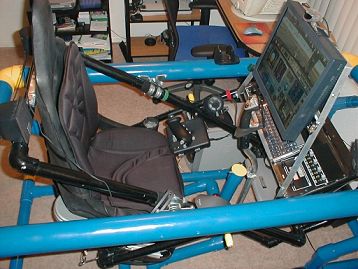
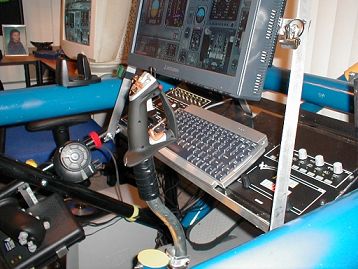
Darrell Marsh of BC Canada submitted these pics of his beautifully constructed 'Rider. Excellent workmanship Darrell! Darrell writes: "Thank you for producing your plans. I have completed my joyrider... I have a Thrusmaster F22, TQS and rudder pedals plus a Masterpilot MFD installed on my sim. I made a few mods to accommodate my monitor and smooth out the action of the stick." (and after advice on shortening the control joystick to increase response) "I shortened the joystick controller extention and the throw is just
right. The feel of my sim is now much more realistic. I think four bungee
cords works better than two so I stuck with that setup."
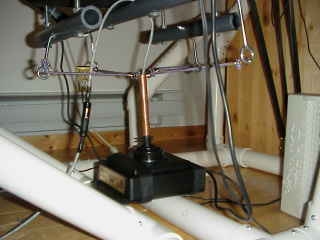
Here's a tip regarding the F22. When constructing the extention cable
carefully take the grip from the base then open the base to acsess the
5 wire cable. Cut the cable so that you leave ample working room on both
sides. DONT go near the board in the grip! I used solder connections with
shrink sleeves at the top and a five pin connector near my base.
|
|
|
|
|
|
|
|
|
|
|
|
|
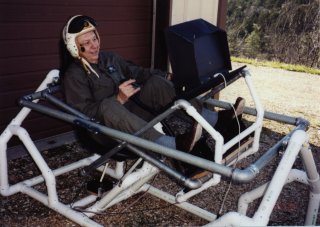
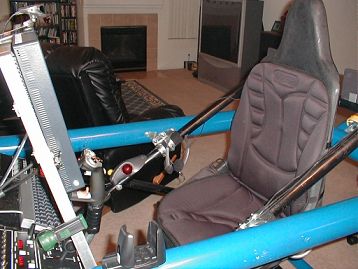
04/00 - Errol D. Severe, Pres. ACM submits pics of his fine 'Rider:
(Note the curved control stick! Very nice touch!)
Errol writes that he can supply the finished bearings to anyone that needs them -
"Ken,
Well it's finally flying! .....I can supply a set of 4 bearings modified ready to install for $59.95 plus postage of $5.05.
I also have the rainbow wire (10 strand) for modifying the control stick. It is
$6.95 for a 5' piece postage included.My stick used 9 strand, so I just pealed off one strand.
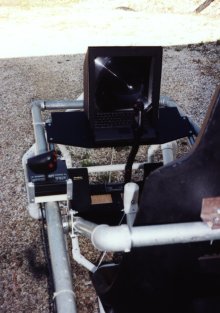
I'm trying to get a vert. reality head set but in the mean time I use my laptop with the fresnel lens...."
Errol
--
I remain, one of the Last of a Breed,Errol D. Severe, Pres. ACM
Aviation Cadet Museum, Inc.
542 CR 2073
Eureka Springs AR 72632
479-253-5008
http://www.aviationcadet.com
02/02"Ken,
Attached are photos of construction in progress. Due to be completed in
mid-March. I will send more photos."Barf" bag gets installed next week...
Thanks,"
Steve Bernard
(how cool is this!)
And then in March 02
"here are the pictures of my completed project i have all CH controls and this
baby will make you sick trust me. Thanks for plans. Steve Bernard"
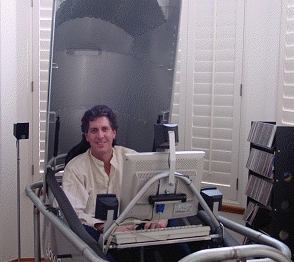
(The proud builder himself! Outstanding job Steve! )
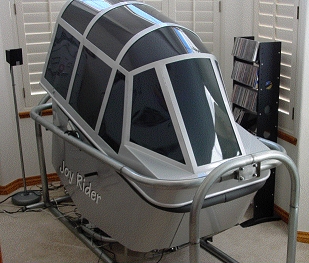
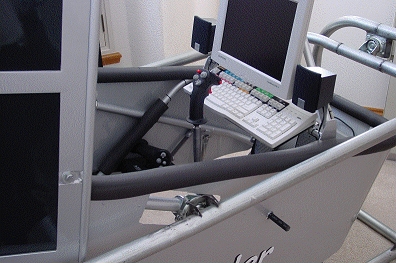
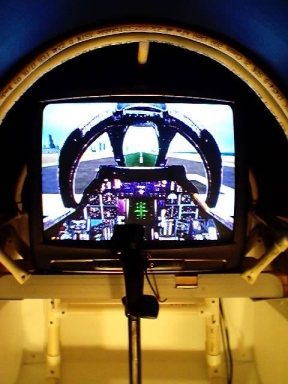
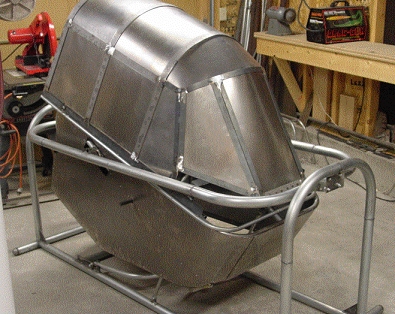
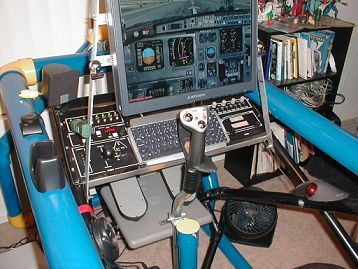
03/02"Hi. Just a note to say how happy I am about how my joyrider turned out.
The plans are very comprehensive and easy to follow. I enjoyed the building process, it was quite straight forward and easy to complete.I made some of my own modifications by closing in the cockpit and adding a sliding canopy, which I find makes the simulation more realistic, because it blocks out the outside environment, making the axis movements seem double what they really are.
Everybody that has tried it were amazed at how real it seems, including some pilots. My father-in-law ran the flight training school in Ottawa and says that the simulator is as good as what the Air Force was using 15-20 years ago (some of this can be attributed to Microsoft Flight Sim 2002).
For a small investment of 40 hours building time and a couple of hunded dollars of materials I know I will get hundreds of hours in enjoyment.
I have included some photos of my joyrider."
Rick Nielsen

04/02Mr. Hill,
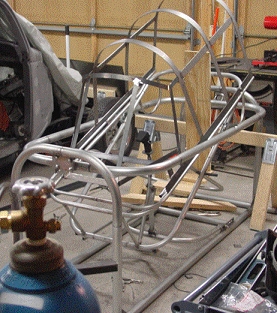
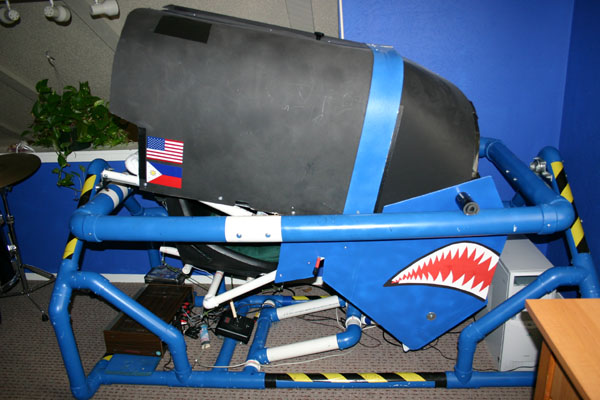
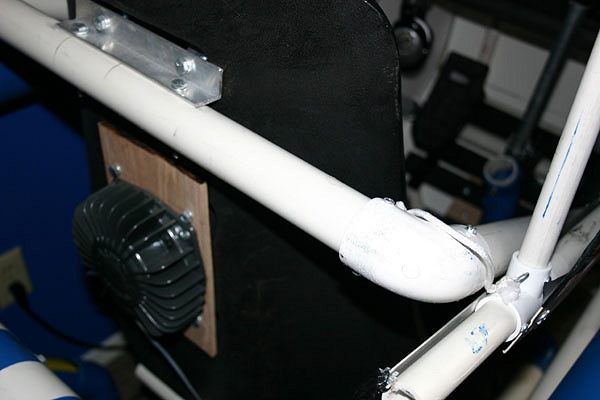
"I came across your site around june of last year, while nursing the concept of me building a moving sim... Though i desired a system that read from the flight model, your mounting frame filled the bill... i will next construct the vacuum-actuated system ( see www.simcraft.com ) to move it.... Here are som pics featuring the PVC construction.... In this case I am using schedule 80, 4" pipe, and the double-race, heavy duty castor bearings as you suggest."Michael Crosby
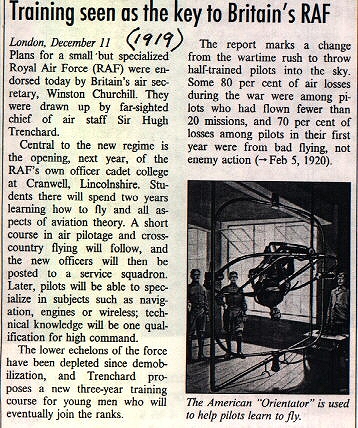
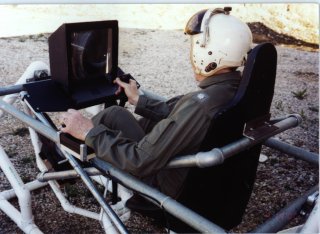
10/01"This is from an aviation encyclopedia. I'm the guy who built the "other joyrider" (in 1991) with our high school sceince/engineering club."
David O''Neil
http://www.webcom.com/sknkwrks/flightsm.htm
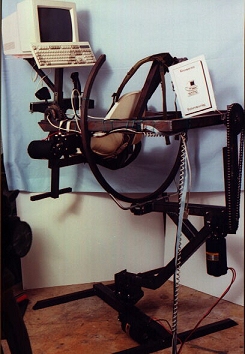
(Thanks Dave! BTW - This here is the original "Joyrider". It was made some years prior to me coming up with the name and design of my version. Great minds think alike? Anyway, credit goes where credit's due! - Ken)
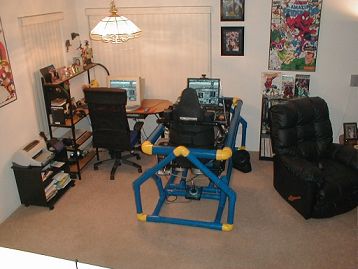
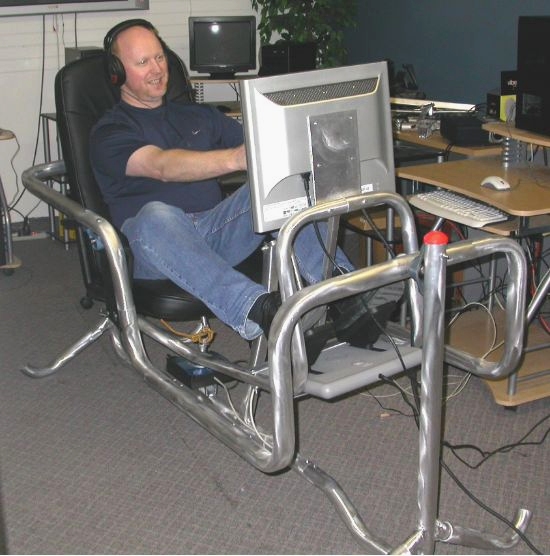
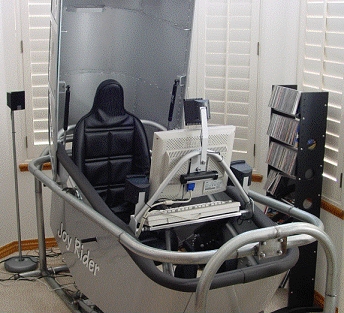
10/03"Hi Ken,
Well, I finished my JoyRider and it's GREAT. I have enclosed some PICS. I also have the SVGA 3D I-Glasses they are cool but not as good of picture as my 19 inch flatscreen I mounted it 2 feet directly in front of me just far enough away not to strain my eyes but close enough to take up most of my forward view.I also added weights under the chair to adjust balance without having to move the whole cockpit forwards or back. I have the TrackerIR sensor on top of the monitor so it follows my head movement as I'm moving.
The best thing I added though was some Goflight devices it cranks the realism up to a whole new level.
To sum it up pretty much anyone with some basic tools can built this it's simple and everything can be found at the local hardware store except for the chair which I order from J.C. Whitney (straight out of your blueprints) The blueprints were easy to understand and follow. It only took about 20 hours to build over a few weekend but to be honest I've already logged more hours flying in it and there will be many more to come.
Thanks for your plans I would have never even conceder building this if I didn't happen across your website
Thanks againBob Massey"

(A deluxe setup indeed! And yes, it even has a cup holder! Beautiful work Bob and thanks for sharing it.)
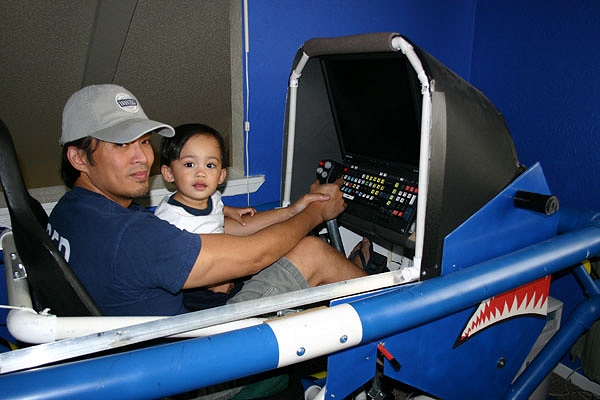
05/04"Hey Ken,
Thank you for sharing your idea, I've had so much fun with my Joyrider. I wish I could fly it more often, but I'm usually busy watching my 15 month old copilot. He was born the same week I received your plans - so, it took me a little longer to build than most of your customers. I added 50 watt bass shakers to the back of the seat and under the rudder pedals. Now, I can feel the rumble of the engines, and when I play combat sims I can feel explosions . It's perfect for prop planes, because when you throttle up with the volume set high - it's scary! Thanks again!
By the way, I have a friend who is very impressed with the Joyrider, he works for American Airlines maintaining their multi-million dollar flight simulators.Alan
ps, I found a website where I found the hard to find C-channel and other aluminum.
http://www.onlinemetals.com/merchant.cfm?id=64&step=2
Easy and convenient!"
(Looks great! Thanks much for the pics and link Alan. )
For you that would love to own a JoyRider but don't have the time to build one, here's your answer. Doc's Computers is offering a ready built version called the Ultimate JoyRider constructed from aluminum tubing! Here's the link to Doc's site:
www.flightcontrolsimulator.com
|
|
|
|
|
|
|
|
|---|---|---|---|---|---|---|
|
|
|
|
|
|
|
PLANS |